Windows Installation Instructions
Although a Windows toolchain is available, it is not officially supported (and we discourage its use). It is unbearably slow during Firmware compilation and does not support new boards like Snapdragon Flight. It also cannot run the standard robotics software packages many developers use to prototype computer vision and navigation. Before starting to develop on Windows, consider installing a dual-boot environment with Ubuntu.
Toolchain Installation
There are a number of ways you can set up a Windows development toolchain for PX4.
- The native toolchain allows you to build for NuttX/Pixhawk and jMAVSim simulator targets.
- The Windows Bash toolchain allows you to build for NuttX/Pixhawk targets (only).
Native toolchain
Download and install these on your system:
- PX4 Toolchain Installer v14 for Windows Download (32/64 bit systems, complete build system, drivers)
- PX4 USB Drivers (32/64 bit systems)
Bash on Windows (NEW!)
Windows users can alternatively install a slightly modified Ubuntu Linux PX4 development environment within Bash on Windows, and use it to build firmware for NuttX/Pixhawk targets. We have provided a script below that makes this easy.
This approach does not currently support simulation because Bash on Windows does not enable Linux UI applications.
The script has been updated to install Fast RTPS from (Linux) binaries.
To use the build script:
- Install Bash on Windows.
- Download the windows_bash_nuttx.sh script.
- Open the bash shell and navigate to the directory containing the script.
- Run the script using the command below (acknowledging any prompts as required):
source windows_bash_nuttx.sh - Test the script by building the firmware:
On successful completion you'll find the firmware here:cd $src/Firmware make px4fmu-v2_defaultFirmware/build_px4fmu-v2/src/firmware/nuttx/px4fmu-v2_default.px4 - You can flash the custom firmware on Windows using QGroundControl or Mission Planner (it is not yet possible to directly flash the firmware from within the bash shell).
Build script details
The windows_bash_nuttx.sh build script modifies the Ubuntu build instructions to remove Ubuntu-specific and UI-dependent components, including the Qt Creator IDE and the simulators.
In addition, it uses a 64 bit arm-none-eabi compiler
since BashOnWindows doesn't run 32 bit ELF programs (and the default compiler from https://launchpad.net/gcc-arm-embedded is 32 bit).
To add this compiler to your environment manually:
- Download the compiler:
wget https://github.com/SolinGuo/arm-none-eabi-bash-on-win10-/raw/master/gcc-arm-none-eabi-5_4-2017q2-20170512-linux.tar.bz2 - Unpack it using this command line in the Bash On Windows console:
This will unpack the arm gcc cross-compiler to:tar -xvf gcc-arm-none-eabi-5_4-2017q2-20170512-linux.tar.bz2gcc-arm-none-eabi-5_4-2017q2/bin - Add the to the environment (add the line to your bash profile to make the change permanent)
export PATH=$HOME/gcc-arm-none-eabi-5_4-2017q2/bin:\$PATH
Ground Control Software
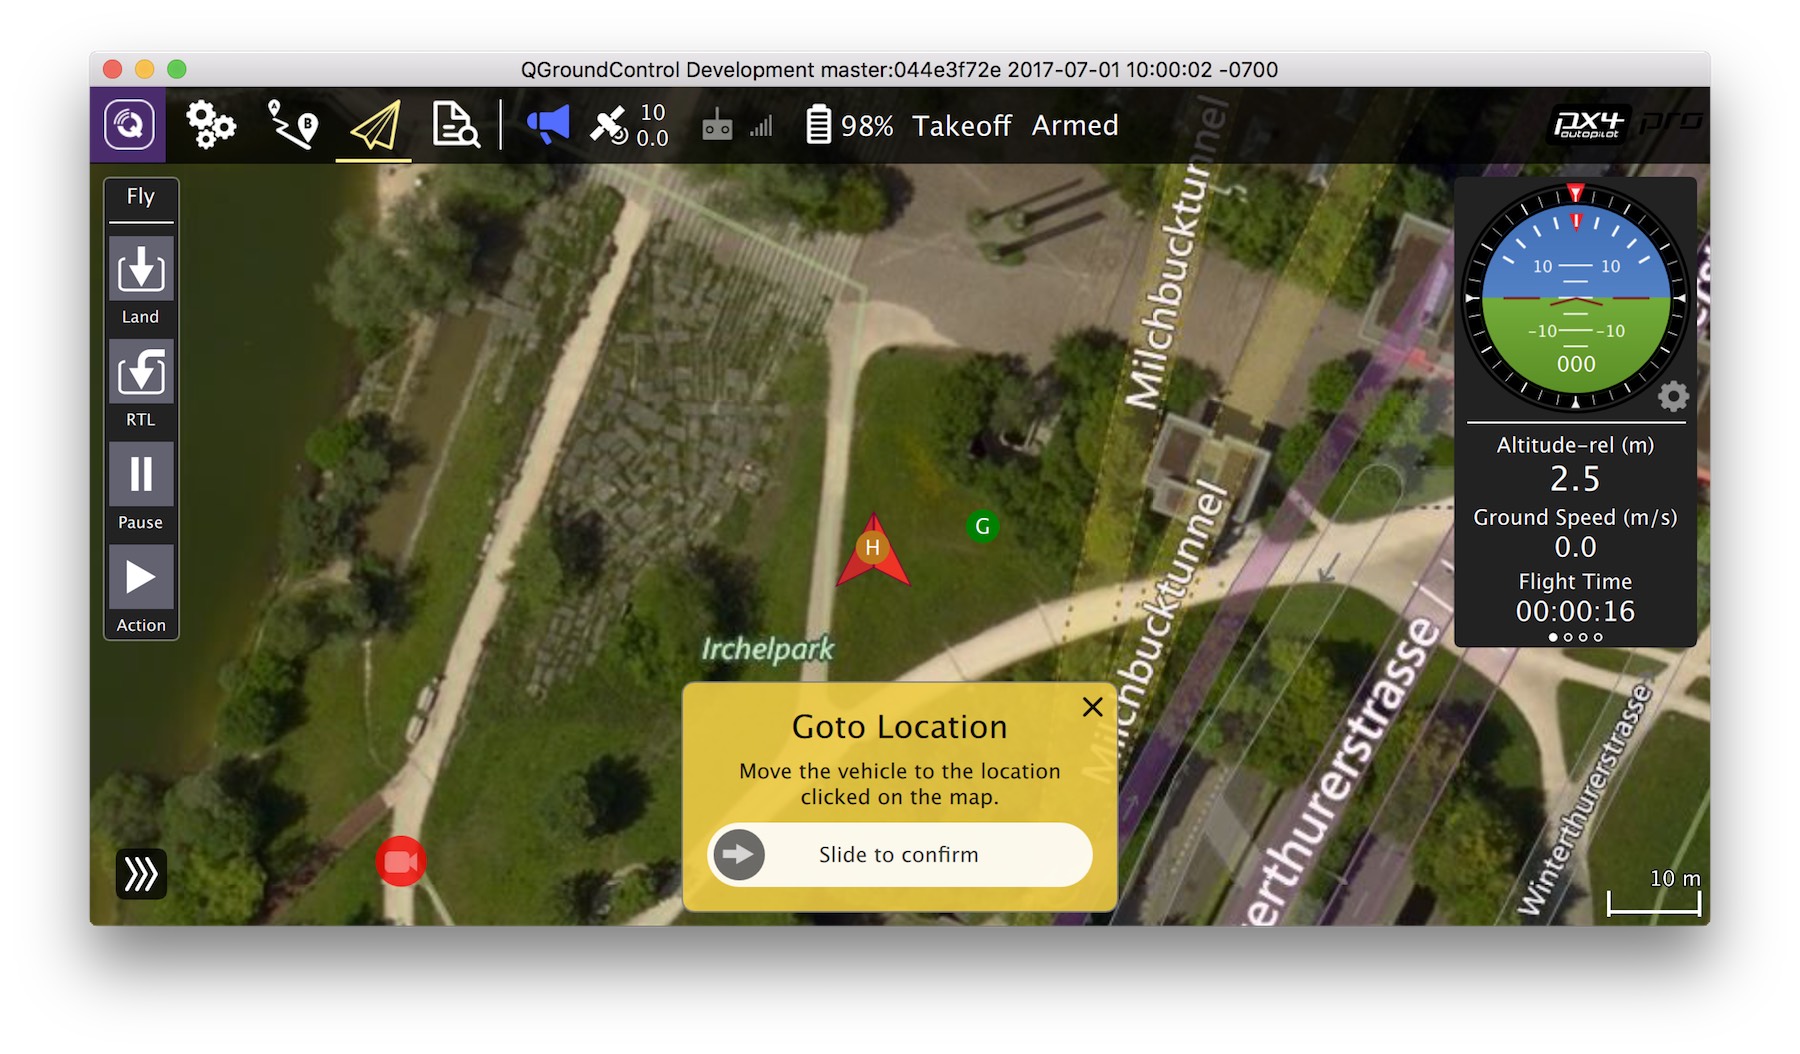
Download and install the QGroundControl Daily Build.

Editor / IDE
The development team often use:
- Sublime Text: a fast and lean text editor.
- Qt Creator: A popular open-source IDE.
Next Steps
Once you have finished setting up the environment, continue to the build instructions.